Custom probes
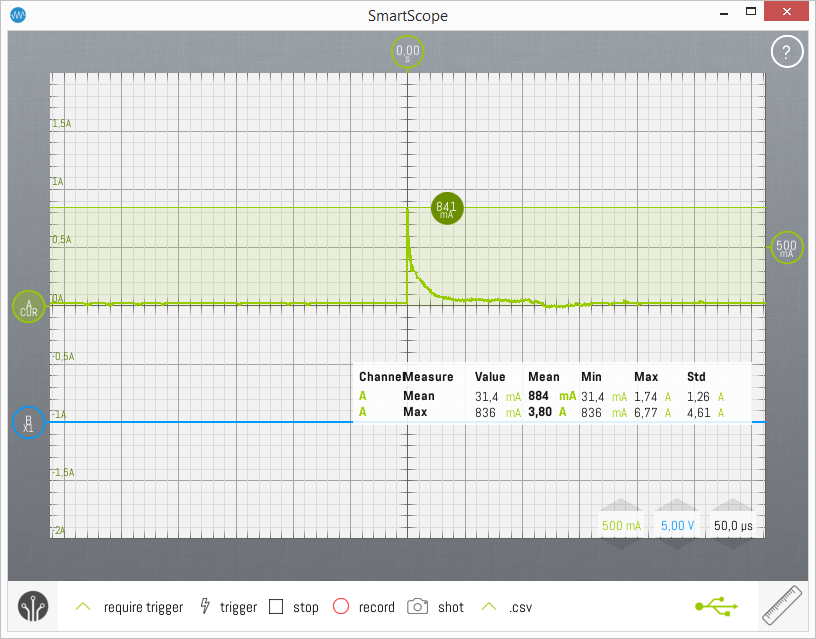
Since v0.14, the SmartScope app allows you to custom probes and activate them on analog channels. As a result, the values will be recalculated to correspond to the input of your probe, and the unit of the probe will be reflected in
- the values shown on the grid
- the values shown in the division selection wheen
- the cursors
- all measurements
Defining a custom probe
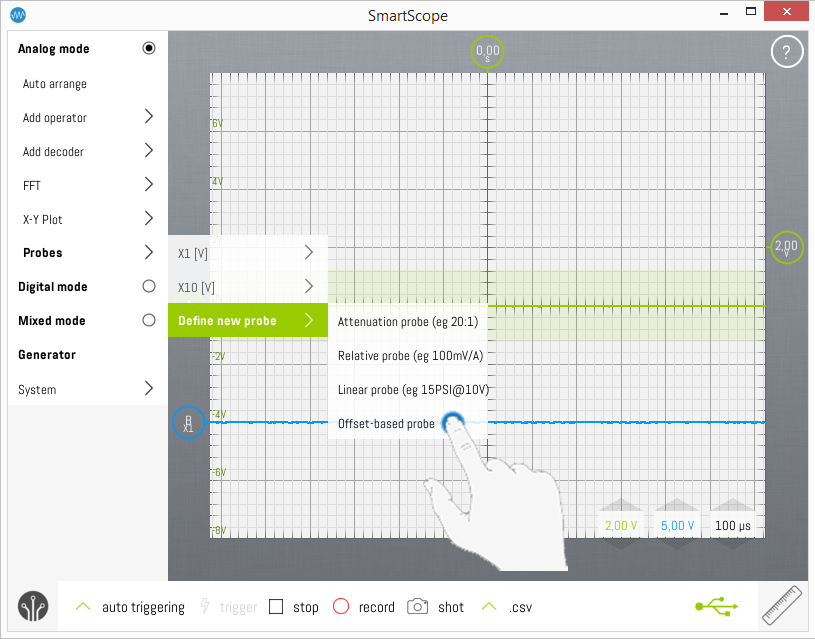
Defining a custom probe is as easy as going to the main menu -> Analog mode -> Define new probe, which will show you 4 different options to define your custom probe. Probes usually are defined in one of three ways, hence the first three options. The last option give you full control, allowing you to define any completely arbitrary probe.
Attenuation probe
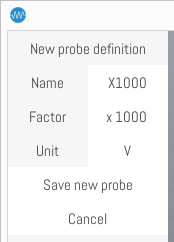
In case only the ratio of the probe is specified, the Attenuation probe is for you. This simply allows you to specify the name of the probe, the ratio and the unit. Specify these, and hit the "Save new probe" button.
Relative probe
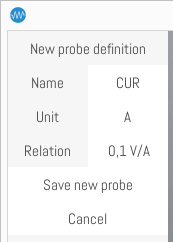
Sometimes the probe mentions the ratio in the other way, such as 100mA/V. In this case, select the Relative probe. Fill in the name of the probe, the relation and the unit and hit the "Save new probe" button.
Linear probe
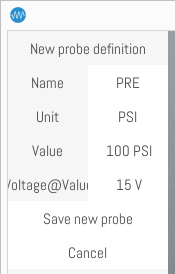
Another way 0-offset probes can be specified, is by giving a specific value and its corresponding voltage. To define such a probe, select the Linear probe and fill in Name, Unit and the datapoint, after which you can hit the "Save new probe" button.
Offset-based probe
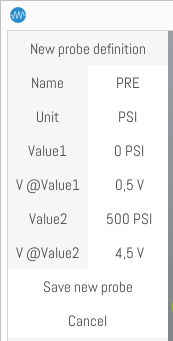
For full flexibility, the Offset-based probe option allows you to specify 2 datapoints. This can be required in case of a non-compensated (offset-based) probe, or in case you hacked something together yourself.
Activating custom probe
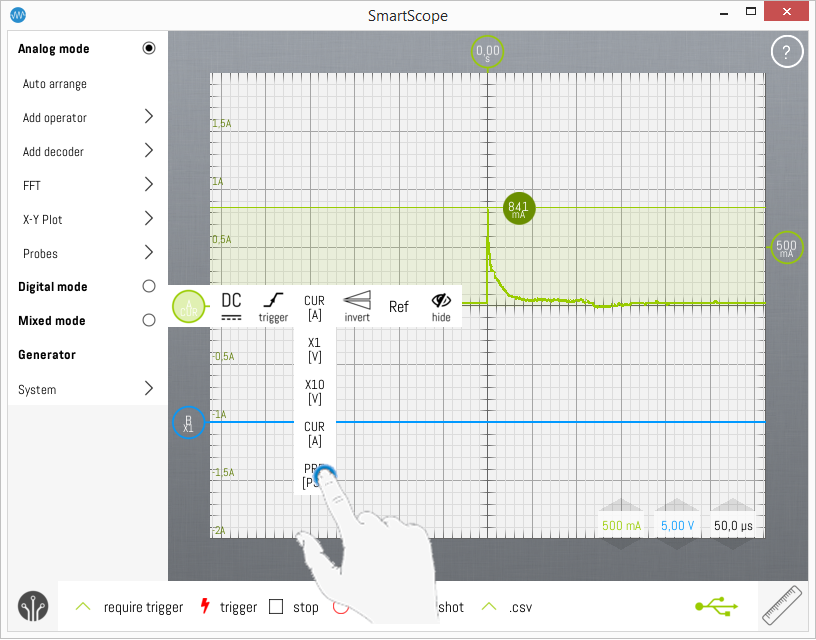
Once you've created a custom, you can activate it exactly the same was as usual: by opening up the channel context menu, selecting the probe menu and selecting your new probe from the drop-down menu:
Inverting a probe or channel
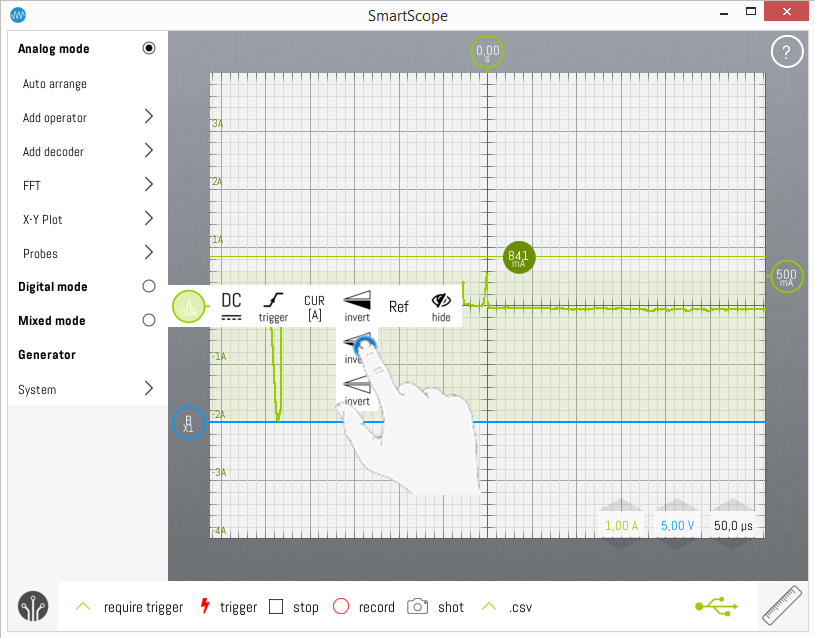
In some cases, it might be you've hooked up your probe the wrong way, or simply you want the signal to be inverted. This can be done easily, by opening up the channel context menu, and selecting the invert button:
