Getting started on Windows
Jump to navigation
Jump to search
Downloading and installing the SmartScope software on Windows
- Go to our main download page and download our application for Windows.
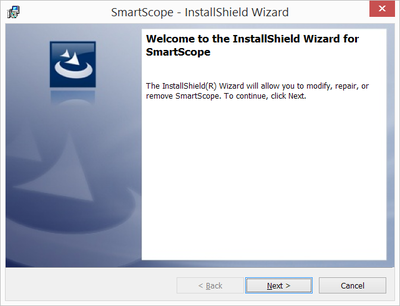
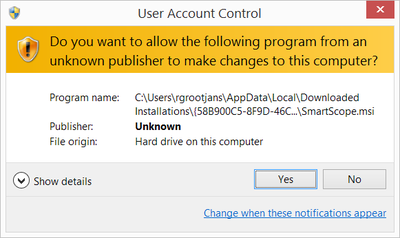
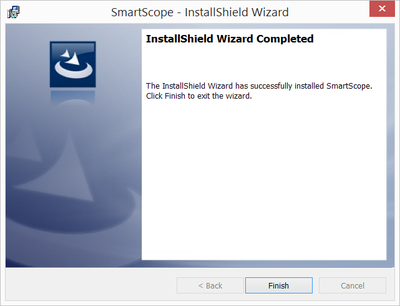
- Once the download is complete, run the file you just finished downloading. (note: since we haven't yet signed our program using a certificate, you might need to navigate through some warnings)
Connecting the SmartScope to your Windows PC
- Connect the SmartScope's central miniB USB port with a miniB cable to your PC, as shown in the image below:
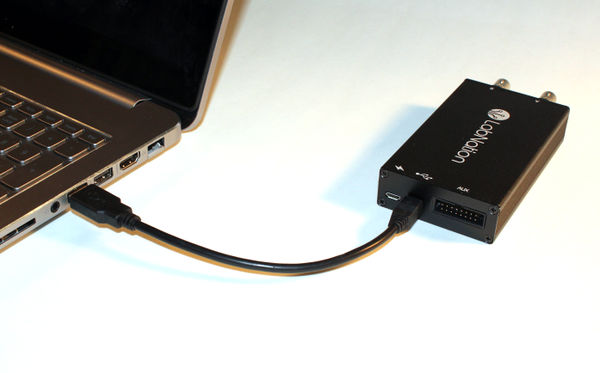
- Next, simply start the SmartScope application through any of these means:
- Find the SmartScope icon on your desktop and give it a double-click
- Hit the Start button on your keyboard, type "SmartScope" and hit enter
- Browse to C:\Program Files (x86)\LabNation\SmartScope and double-click on the SmartScope.exe file
Troubleshooting connectivity issues on Windows
Whenever in doubt, please go through the steps below and let us know in the forum where things go wrong.
Trivial suggestions
- Make sure you're using the miniB port as shown in the image above, and not the microB port on the side
- Try out whether another USB cable might help
- Try out different USB ports on the PC
- Try out with a different PC/host
More advanced steps
- Download and install the latest software from the LabNation download page
- In the main menu, select System -> Install driver, and restart the application. Make sure you have administrator rights (which you need to install any new hardware)
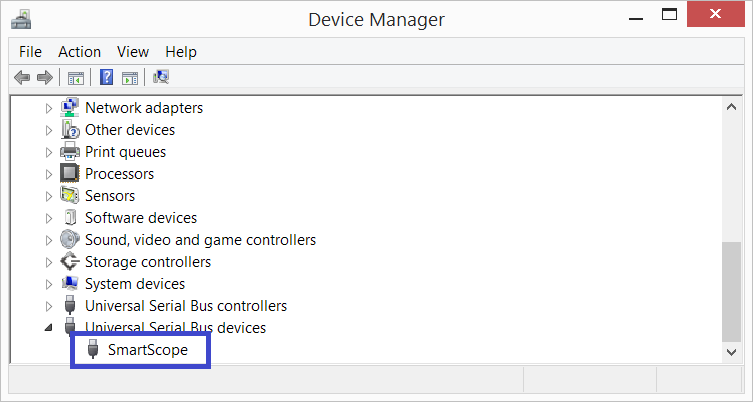
- Open up the Device Manager, eg as explained on this page, and check whether the SmartScope is shown as in the image below
Getting help
If these steps didn't solve your problems, by all means let us know at the LabNation forum. Please make sure you include in your post:
- that you've gone through the steps above
- whether and how the SmartScope is showing up in the Device Manager
- if you hear a USB connection sound when you plug/unplug the SmartScope
